How to draw a leaf step by step (oak leaf)
How do you draw a oak leaf?
Draw it in 7 steps, in about 40 minutes, with charcoal stick or soft pencil, kneaded eraser, drawing paper. Level: Intermediate.
- Steps
- 7
- Time
- 40 min
- You need
- charcoal stick or soft pencil, kneaded eraser, drawing paper
- Level
- Intermediate
This is a free drawing in the Guidart app.
An oak leaf is easy to recognise because of its lobes. You will begin with the stem and central vein, add the lobes and the vein skeleton, and then build the form with shading and fine veins.
Step-by-step instructions
Step 1
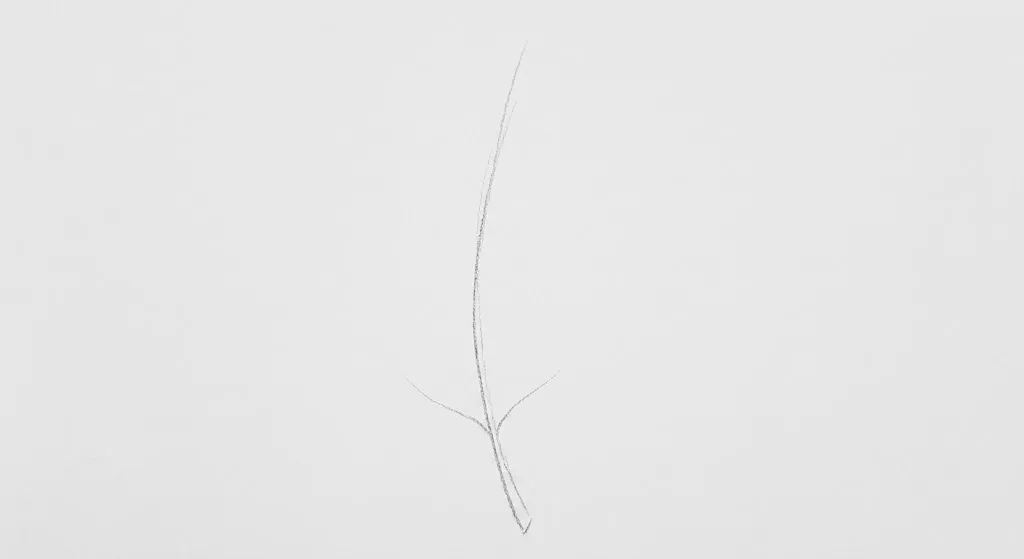
Start very lightly with a charcoal stick or pencil. Draw a gentle, curved vertical line that will establish the stem (petiole) and the main central vein of the leaf (the midrib). This defines the leaf's primary structure and movement on the paper.
Step 2
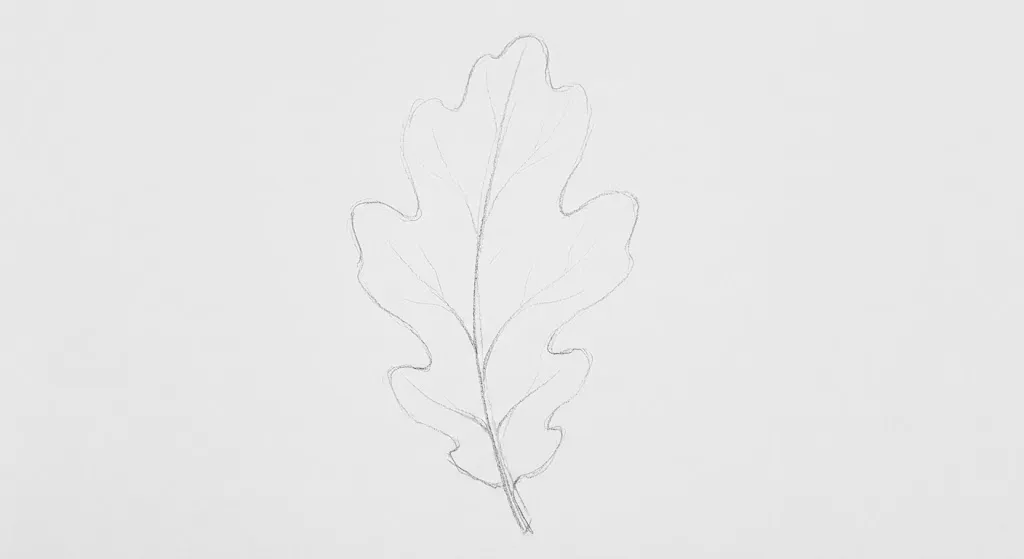
Building directly upon the central vein from Step 1, begin sketching the characteristic 'lobes' of the oak leaf. Use light, fluid, and irregular curves. Focus on the overall contour and flow, ensuring the lobes radiate symmetrically from the established midrib. These are loose foundational shapes.
Step 3
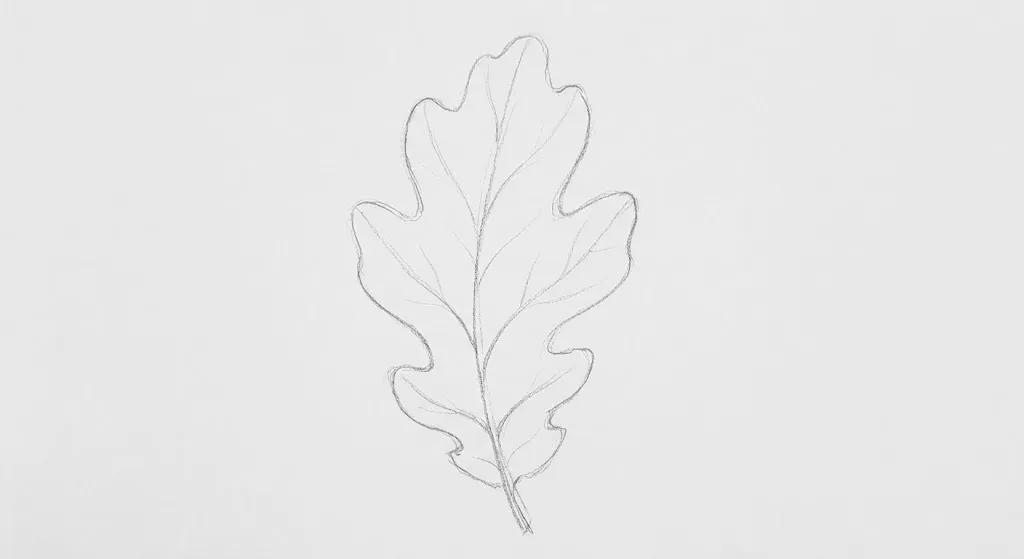
Now, within the general outline defined in Step 2, begin mapping the secondary structure. Drawing lightly, connect the midrib to the tips of each lobe using thin, straight, angular lines. This step establishes the internal 'skeleton' that anchors the leaf’s complex shape, moving us past a simple outline.
Step 4
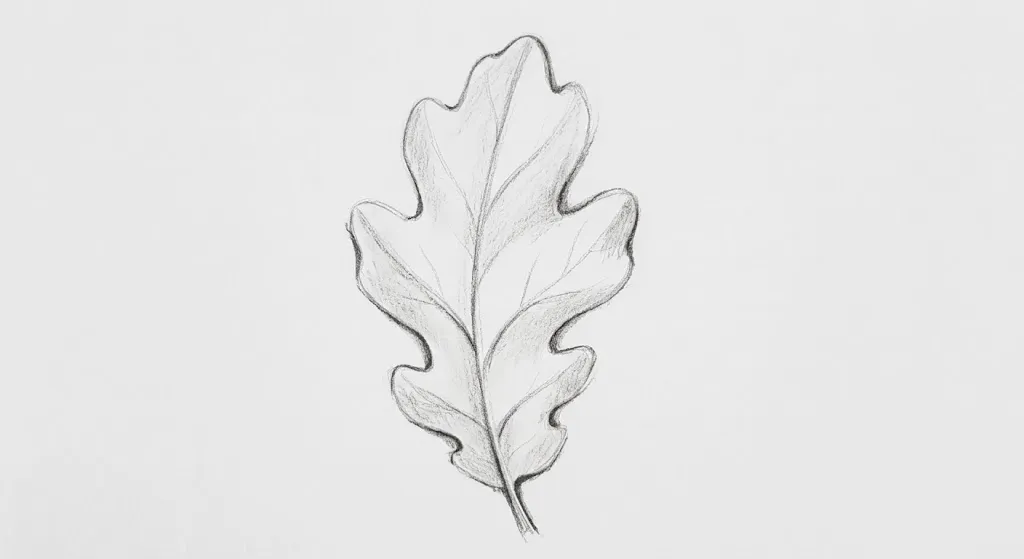
Now we shift to defining the leaf's form. Using the side of your charcoal, apply light, broad shading across the leaf surface. Crucially, the deep recesses where the lobes curve inward (and the shadows are naturally cast) should receive slightly more pressure and value, while the raised lobe tips remain lighter. The entire skeletal structure from previous steps remains visible, now integrated with initial three-dimensionality.
Step 5
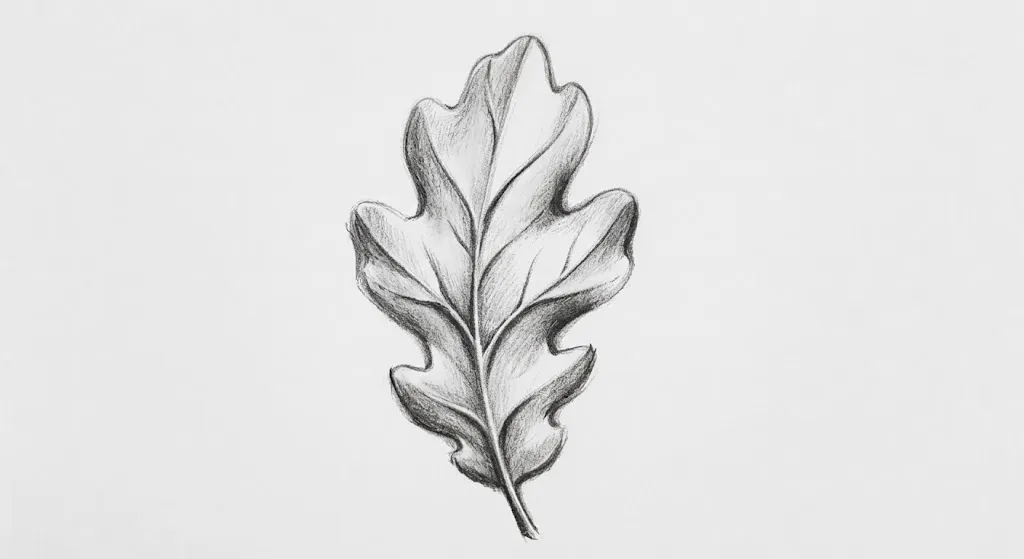
We now use value to refine the three-dimensional form established in Step 4. Observe how the secondary veins (from Step 3) create small ridges. Apply concentrated shading immediately adjacent to these veins, making them appear raised. Darken the deepest recesses of the large lobes even further. This contrast transforms the flat shape into a complex, undulating, sculpted surface. The overall structure must hold firm.
Step 6
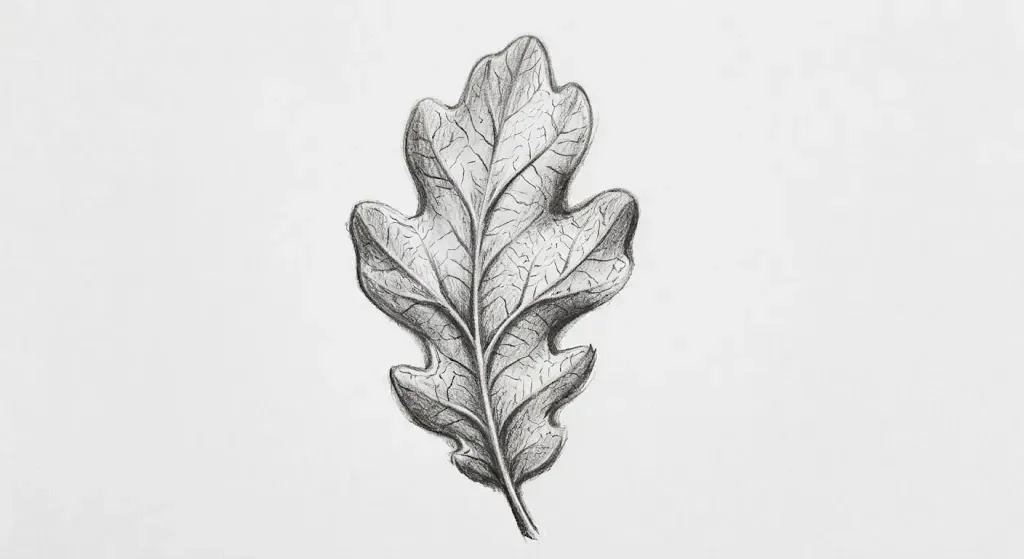
With the 3D form sculpted (Step 5), it's time for texture. Use a sharp charcoal point or a pencil to draw a very fine, irregular network of tertiary veins filling the main lobes. These details must follow the undulating form you just established, flowing over the shading. The surface should begin to look complex and organic, moving beyond simple value changes.
Step 7
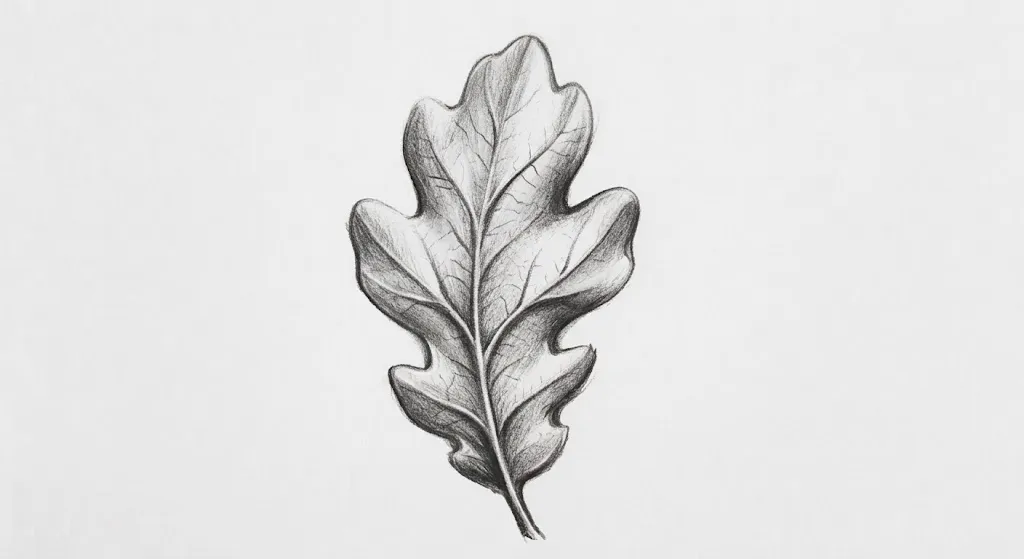
This is the final polish. Review the entire drawing. Use a kneaded eraser to lift charcoal from the highest points of the lobes (the raised areas defined in Step 4/5), creating crisp highlights that make the lobes look raised. Your drawing is finished.
Tips for a better drawing
- Start with a light curved line for the stem and midrib in step 1. It sets the movement of the whole leaf.
- Draw the lobes in step 2 as irregular curves so they are never perfectly symmetrical.
- Draw straight angular lines from the midrib to each lobe tip in step 3 as a skeleton.
- Press harder in the recesses between lobes in step 4 and keep the lobe tips light.
- Draw the tertiary veins in step 6 so they follow the form.
Common mistakes and how to fix them
- The lobes are perfect copies. Vary size and shape.
- The veins ignore the shading. Draw them over the form.
- The leaf is flat. Darken the recesses.
Print all steps on one sheet
Every step image and its instruction on a single Letter page, ready to keep next to your paper.
Printable coloring page
The line version of this drawing, printed in black and white so you can color it in yourself.
Drawings to try
Frequently asked questions
How do I draw the leaf veins so they do not look stiff?
Draw the secondary veins in step 3 as thin straight lines from the midrib to each lobe tip, then the fine network in step 6 with irregular, flowing lines that follow the shading. Keep the pressure light and let the lines vary in thickness, since real veins taper toward the edge.
How do I draw an oak leaf?
Draw the midrib, then curved lobes.
How do I draw leaf veins?
Draw a main vein, secondary veins to the lobes, then a fine network.