How to draw a mushroom step by step
How do you draw a wild mushroom?
Draw it in 8 steps, in about 35 minutes, with charcoal pencil or soft pencil, kneaded eraser, drawing paper. Level: Intermediate.
- Steps
- 8
- Time
- 35 min
- You need
- charcoal pencil or soft pencil, kneaded eraser, drawing paper
- Level
- Intermediate
This is a free drawing in the Guidart app.
A mushroom is a rounded cap on a thick stem, with gills hidden under the cap. You will shade the underside of the cap, draw radiating gills, and finish with highlights and a few ground details.
Step-by-step instructions
Step 1
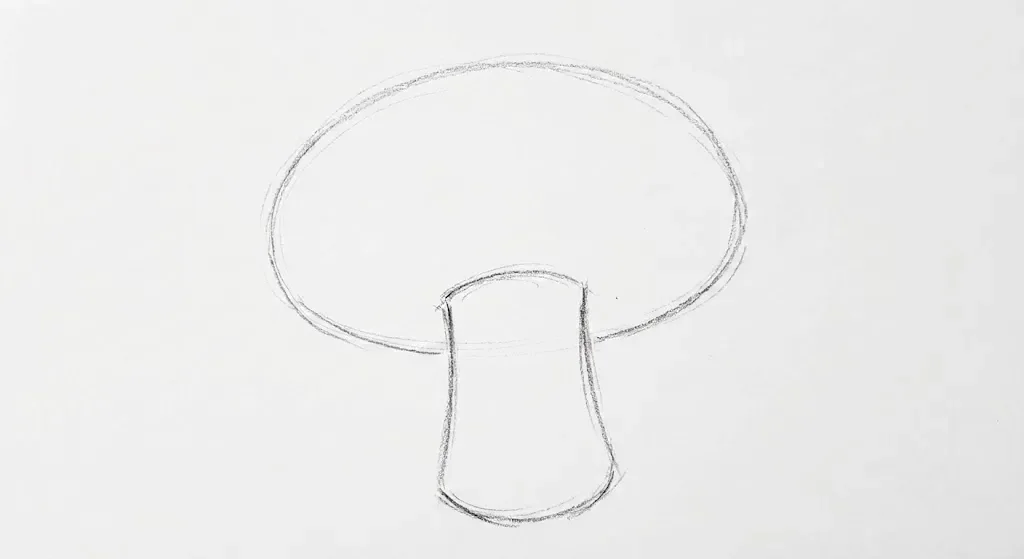
Start by drawing a large, slightly flattened oval for the mushroom's cap and a thick, cylindrical rectangle for the stem. These are your initial guide shapes.
Step 2
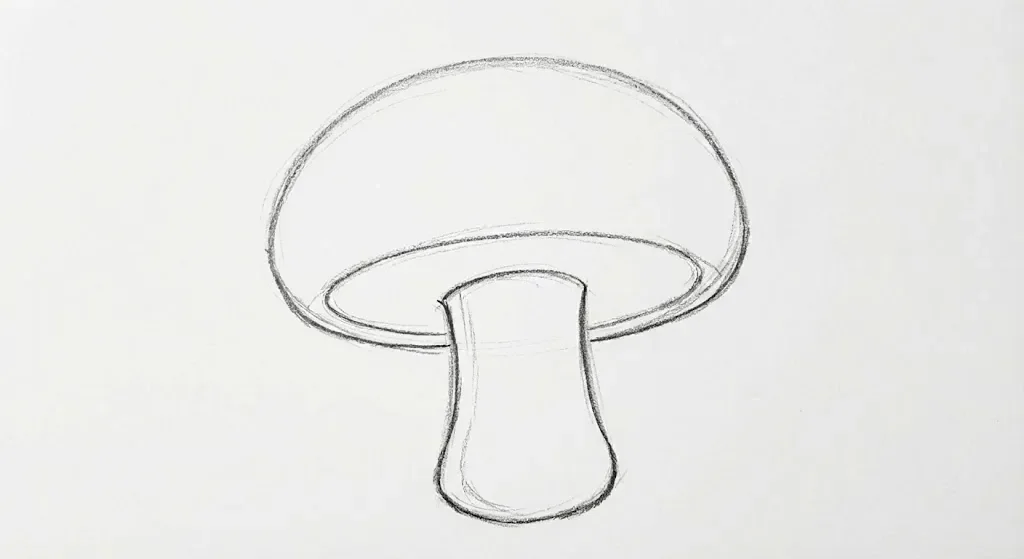
Refine the oval into a more natural, rounded cap shape and add a curved line for its rim. For the stem, curve the sides to give it a more organic form and a wider base.
Step 3
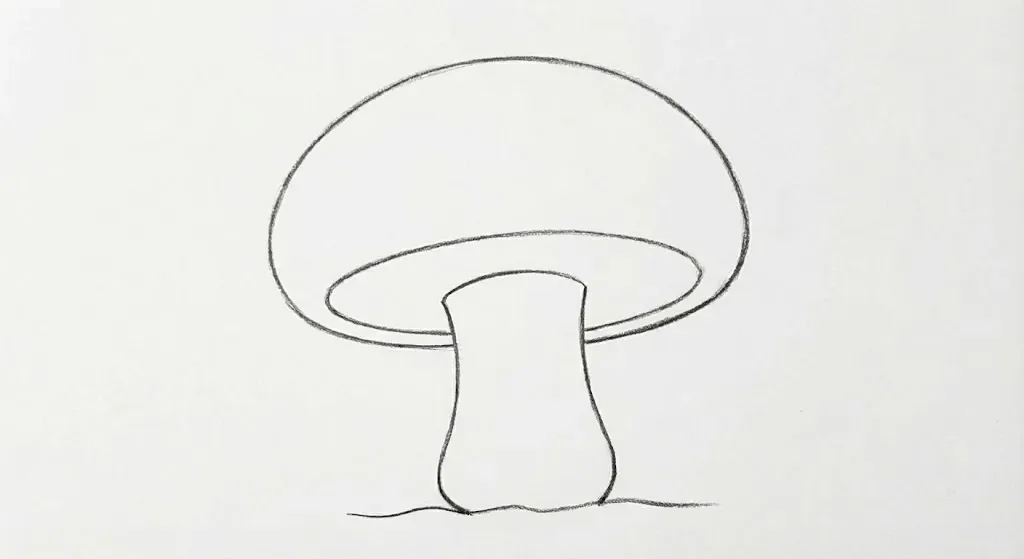
Clean up your drawing, erasing any unnecessary guide lines and solidifying the final outline of the mushroom. You can also add a simple line for the ground.
Step 4
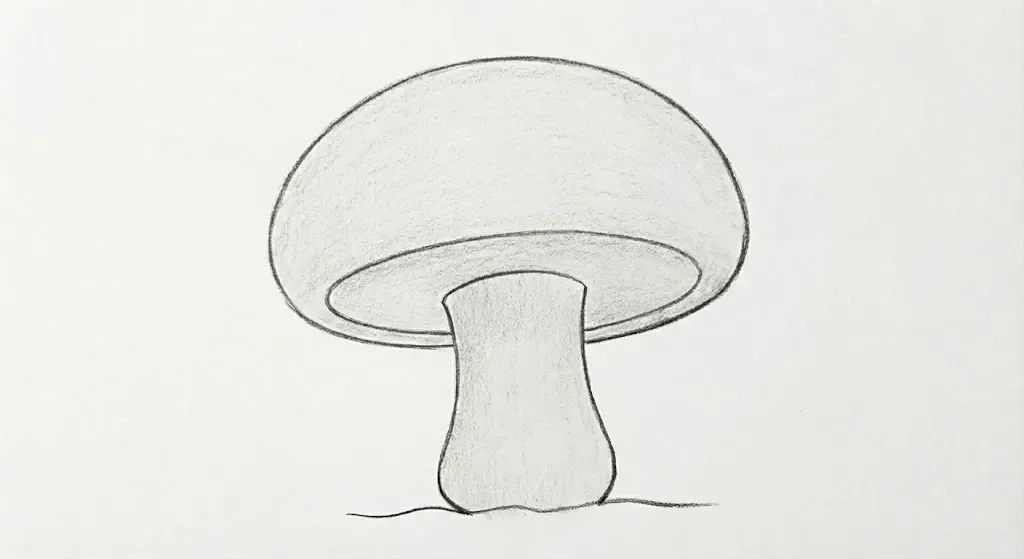
Apply a light, even layer of shading over the entire mushroom cap and stem. This establishes the basic tone of your drawing.
Step 5
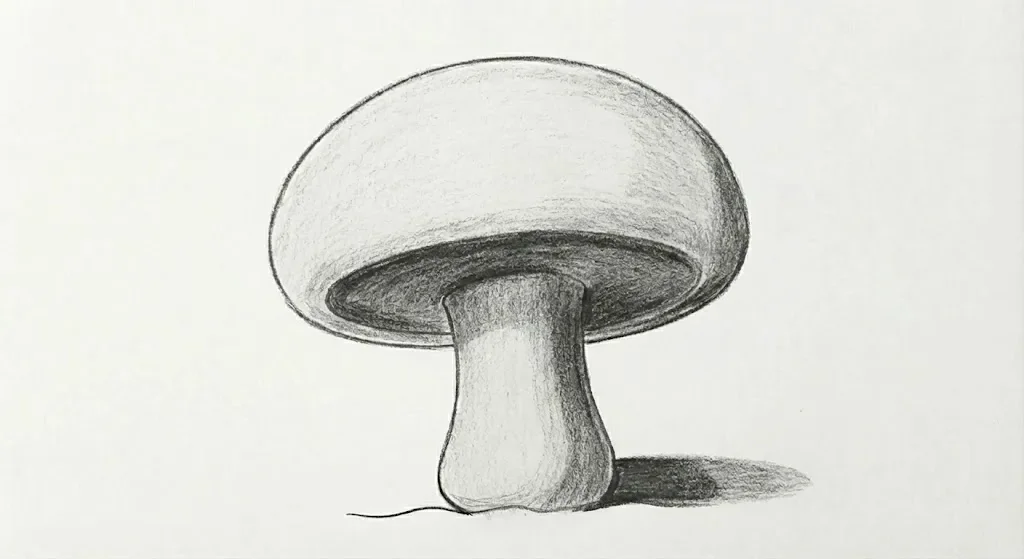
Assuming a light source from the top left, add darker shading to the underside of the cap and the right side of the stem. Also, draw a cast shadow on the ground to the right of the mushroom.
Step 6
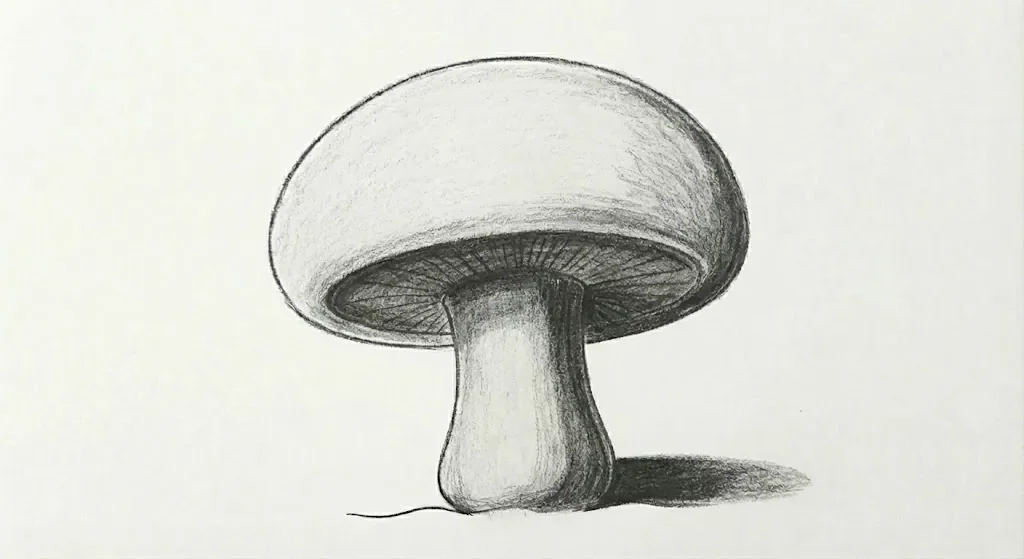
Further darken the shadows on the cap's underside and the stem. Start adding the gills by drawing faint, radiating lines from the stem on the underside of the cap.
Step 7
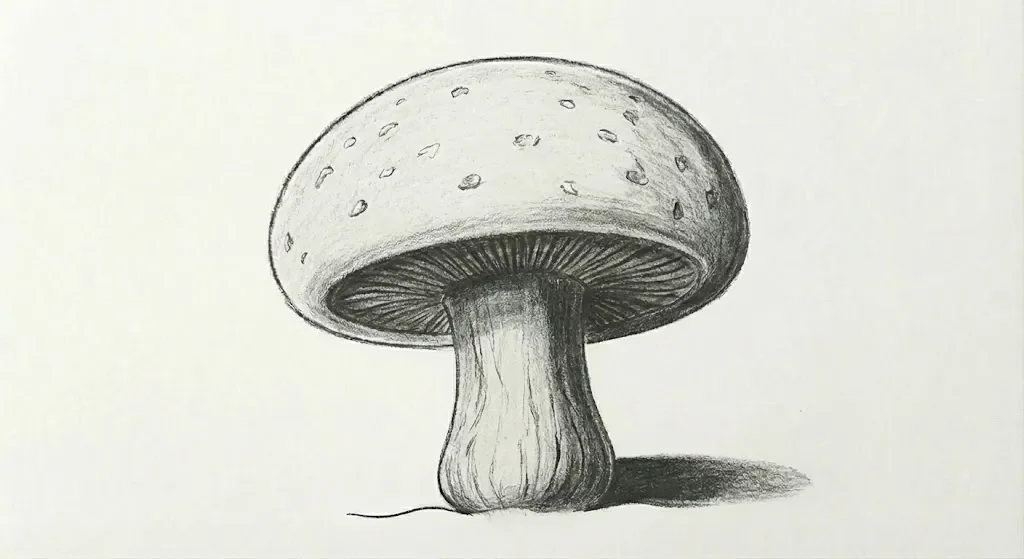
Detail the gills with more defined lines. Add small, irregular spots to the top of the cap and some texture lines on the stem to give it a realistic look.
Step 8
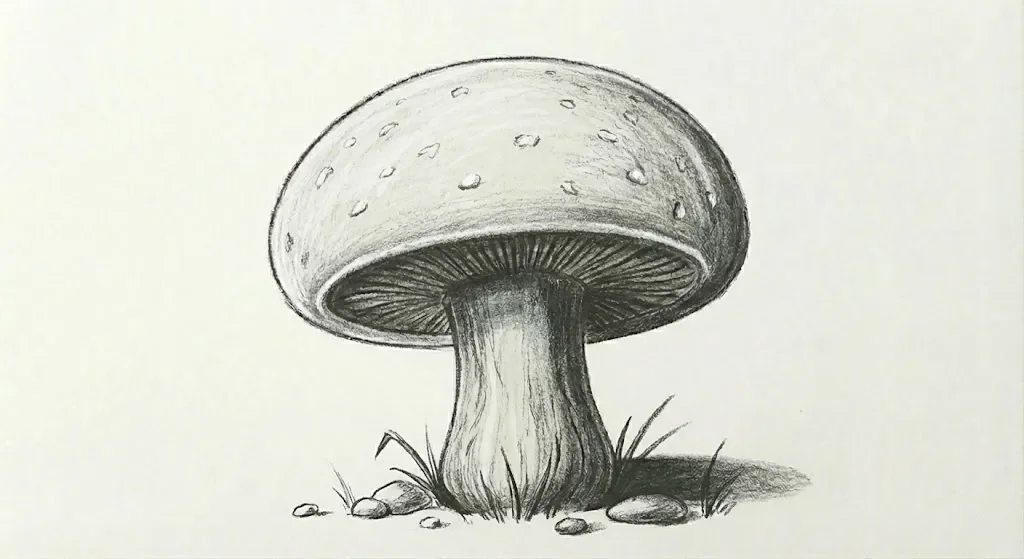
Use an eraser to create highlights on the top of the cap and the rim's edge, where the light would naturally hit. Add a few small details to the ground, like grass or pebbles, to complete your charcoal drawing.
Tips for a better drawing
- Start with a slightly flattened oval and a thick rectangle in step 1, then curve the stem so it is wider at the base in step 2.
- Erase guide lines in step 3 before you shade so the outline stays clean.
- With light from the top-left, darken the underside of the cap and the right side of the stem, then cast a shadow to the right in step 5.
- Draw the gills as faint radiating lines from the stem in step 6 and strengthen them in step 7.
- Lift highlights on the top of the cap and the rim edge in step 8, and add a few blades of grass or pebbles.
Common mistakes and how to fix them
- The cap is a perfect half-circle. Make it slightly uneven and add a visible rim.
- The gills are parallel lines. They should spread out from the stem like the spokes of a wheel.
- The mushroom looks pasted onto the page. Add the cast shadow to the right and a few grass blades or pebbles, as in steps 5 and 8.
Print all steps on one sheet
Every step image and its instruction on a single Letter page, ready to keep next to your paper.
Printable coloring page
The line version of this drawing, printed in black and white so you can color it in yourself.
Drawings to try
Frequently asked questions
How do I make the mushroom cap look round?
Darken the underside of the cap and the right side of the stem in step 5 and lift a highlight on top of the cap in step 8. The contrast between underside and top shows the dome. The cast shadow on the ground to the right adds weight and finishes the effect.
How do I draw the gills under a mushroom cap?
Draw faint lines that radiate from the stem toward the cap rim, then darken them.
Where do I put the shadow?
With light from the top-left, shade the underside of the cap and the right of the stem, and cast the shadow to the right.