How to draw a house step by step
How do you draw a house?
Draw it in 8 steps, in about 60 minutes, with charcoal pencil or soft pencil, kneaded eraser, ruler (optional), drawing paper. Level: Intermediate.
- Steps
- 8
- Time
- 60 min
- You need
- charcoal pencil or soft pencil, kneaded eraser, ruler (optional), drawing paper
- Level
- Intermediate
This is a free drawing in the Guidart app.
This house is built like an architect would: a box in two-point perspective, a gabled roof, extra blocks and then textures for siding, stone and slate.
Step-by-step instructions
Step 1
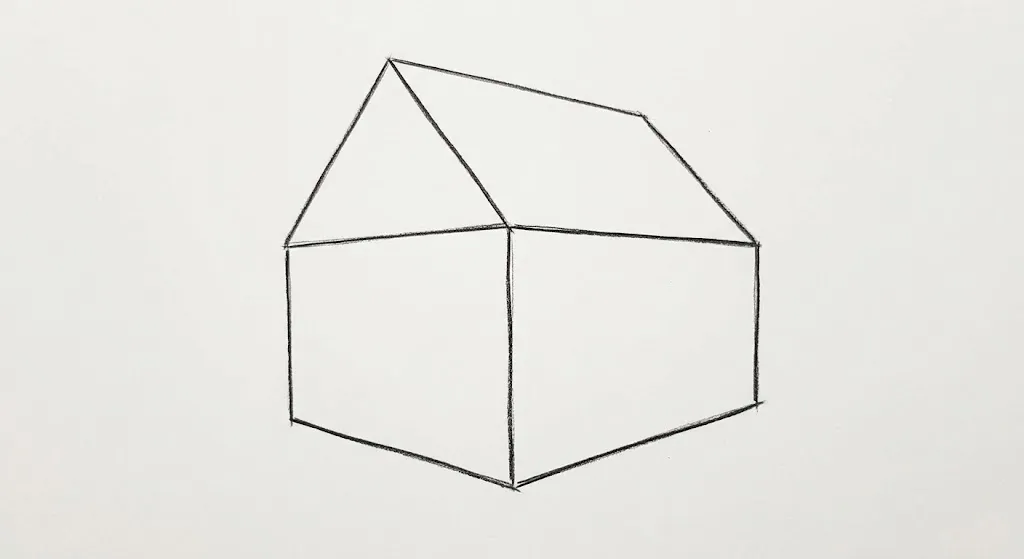
Draw a large rectangular prism using two-point perspective (verticals straight, horizontals receding). Place a centered triangle on top to define the main gable and roof pitch.
Step 2
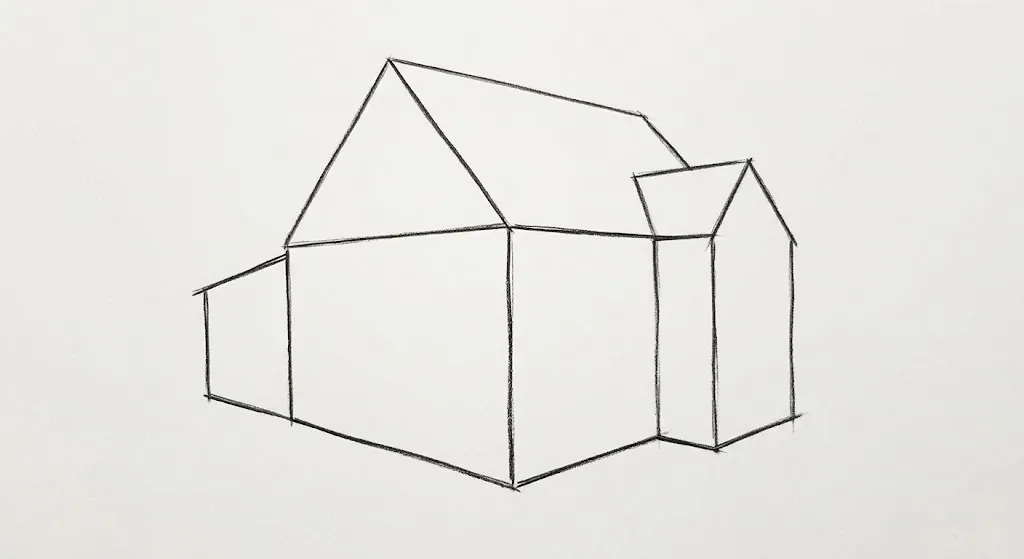
Attach a smaller, forward-extending gabled block to the right. Add a simple lean-to structure to the left. Keep all lines firm and clear.
Step 3
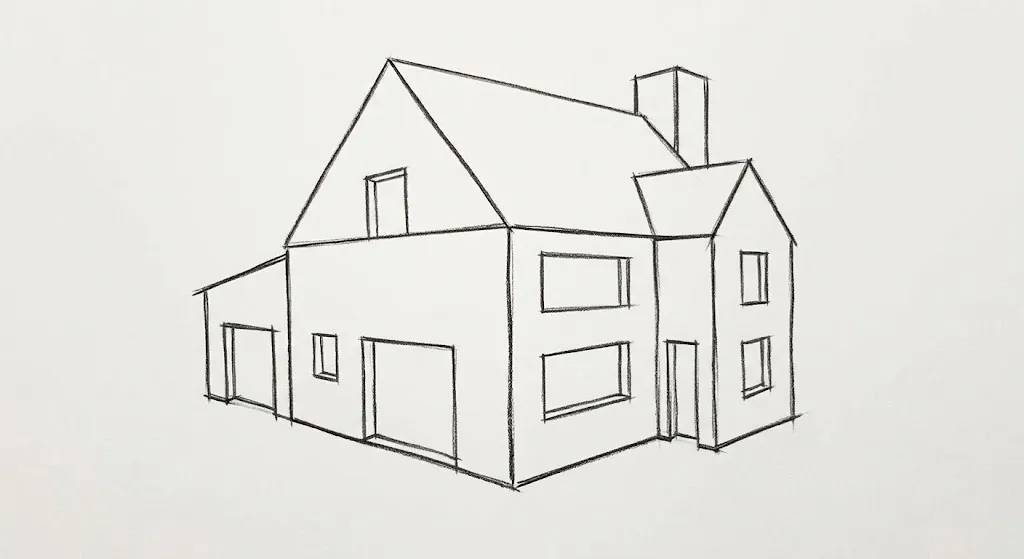
Cut in the door and window openings, ensuring they align with the established perspective. Add a tall, rectangular chimney where the rooflines intersect.
Step 4
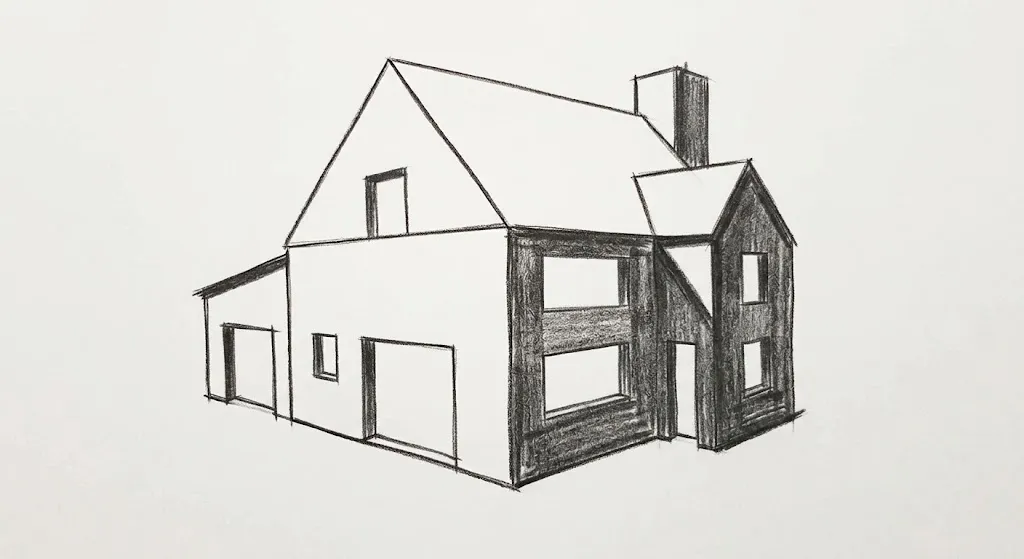
Assuming light from the front-left, apply a solid, even tone to all surfaces facing away from the light (the right side of the main body, chimney, and secondary block) to create volume.
Step 5
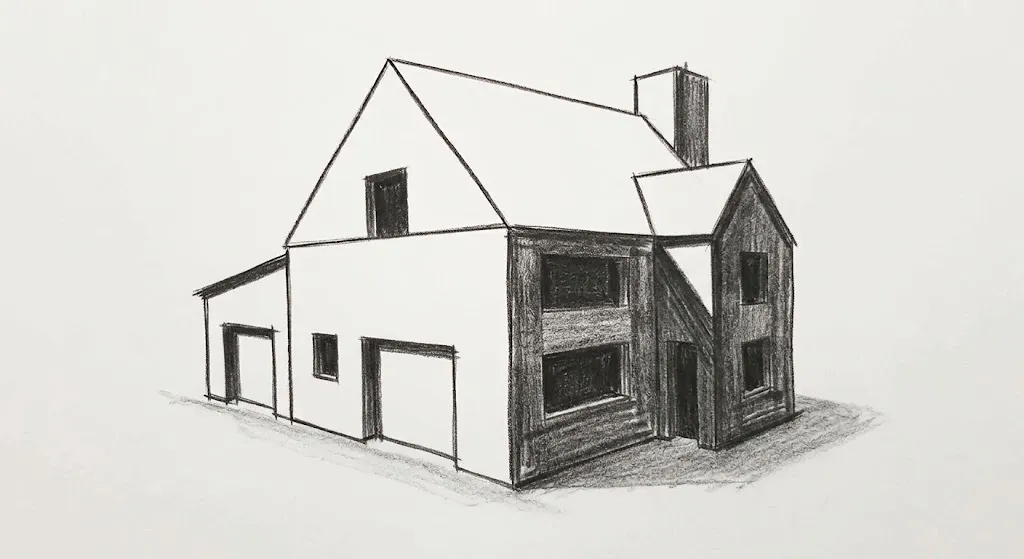
Deepen the interior of all openings with dark charcoal. Add the long ground shadow to the right and the sharp, diagonal cast shadow of the side-projection onto the main wall.
Step 6
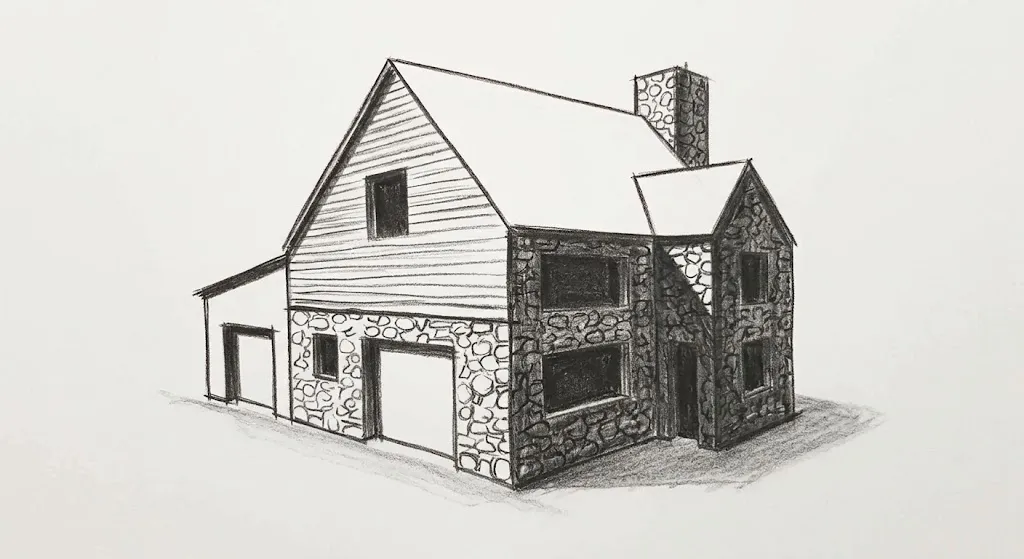
Apply directional parallel strokes on the gabled sections for timber siding. Use rough, circular strokes on the lower body and chimney for stone texture. Maintain texture contrast based on the light source.
Step 7
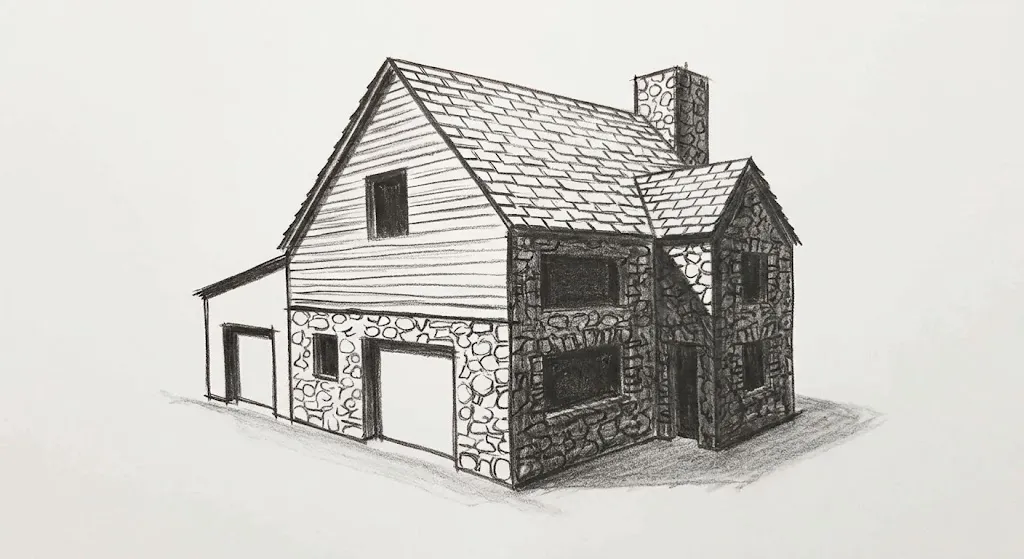
Add slate shingle texture to the roof using downward-curving strokes. Cross-hatch the front door and use your darkest charcoal to emphasize tight corner intersections.
Step 8
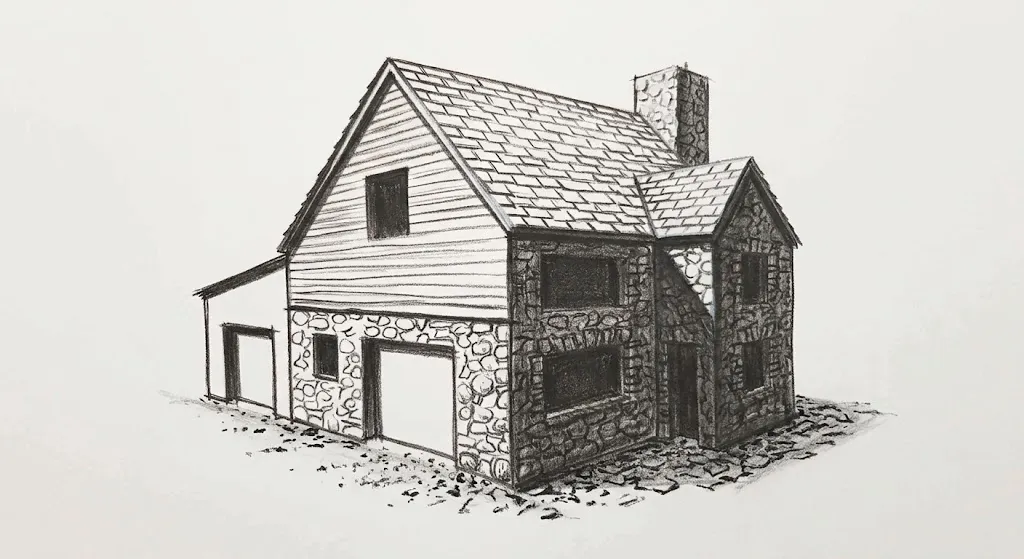
Crisp up the primary outlines (roof edges, window frames) with a sharp point. Use a kneaded eraser to lift highlights on the chimney and roof shingles for a final 3D effect. Add subtle ground details for context.
Tips for a better drawing
- In step 1, draw the main block's verticals as straight lines and let the horizontals recede toward the two vanishing points. Check that the roof triangle is centred on the front wall.
- When you add the side gable and the lean-to in step 2, keep their roof angles matching the main roof so the house looks like one building.
- Put the door and windows in step 3 on the same receding lines as the walls. Windows that ignore perspective are the most visible mistake in house drawings.
- In step 4 shade only the faces turned away from the light, which are on the right in this drawing, with one even tone before adding texture.
- Use different mark types in step 6: parallel strokes for the timber siding and rough circular strokes for the stone. The contrast makes materials readable.
Common mistakes and how to fix them
- The windows look flat on the wall. Redraw their top and bottom edges along the same receding lines as the wall edges.
- The shadow from the side block runs in the wrong direction. Keep the light on the front-left and cast the diagonal shadow to the right.
- The textures cover the whole house evenly and hide the volume. Keep them stronger on the shadow side and lighter on the lit side.
Print all steps on one sheet
Every step image and its instruction on a single Letter page, ready to keep next to your paper.
Printable coloring page
The line version of this drawing, printed in black and white so you can color it in yourself.
Drawings to try
Frequently asked questions
How do I draw a house in perspective?
Start with a box where the verticals stay upright and the horizontals head toward two vanishing points, then add the roof on top, as in step 1.
How do I draw roof shingles?
Use short, downward-curving strokes in rows, and leave a few lighter strokes where the light hits.
How do I make the house look three-dimensional?
Shade the faces turned from the light with an even tone, add the long ground shadow and darken the openings.