How to draw an anime girl step by step
How do you draw a anime girl?
Draw it in 7 steps, in about 45 minutes, with HB pencil, 2B pencil, kneaded eraser, drawing paper. Level: Intermediate.
- Steps
- 7
- Time
- 45 min
- You need
- HB pencil, 2B pencil, kneaded eraser, drawing paper
- Level
- Intermediate
This is a free drawing in the Guidart app.
This manga-style girl is drawn from a head circle, a short neck and a shoulder line. You will place the face with a cross, draw large eyes and hair, then add a school uniform collar and shading.
Step-by-step instructions
Step 1
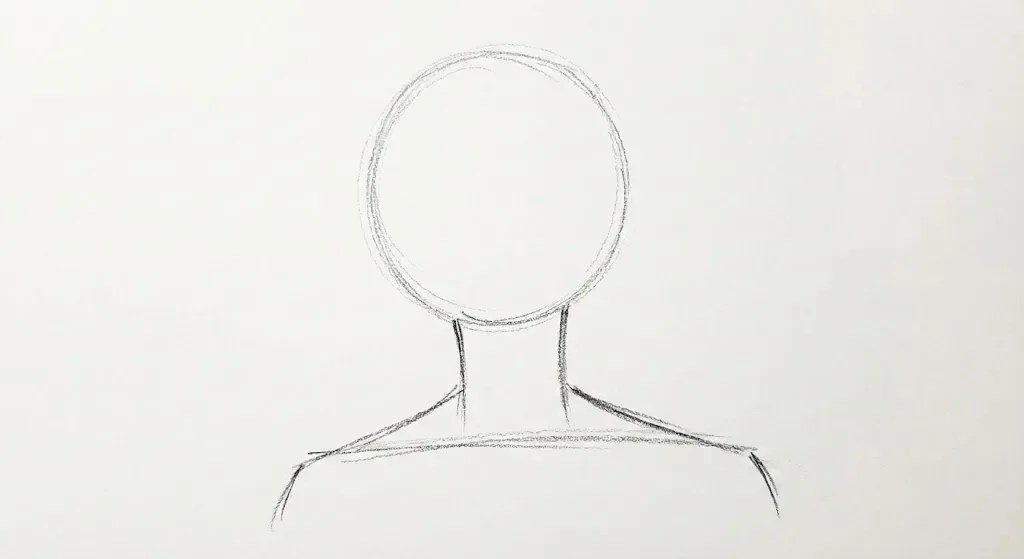
Start by drawing a simple circle for the head. Below it, add a short vertical line for the neck and a horizontal line for the shoulders to establish the basic pose.
Step 2
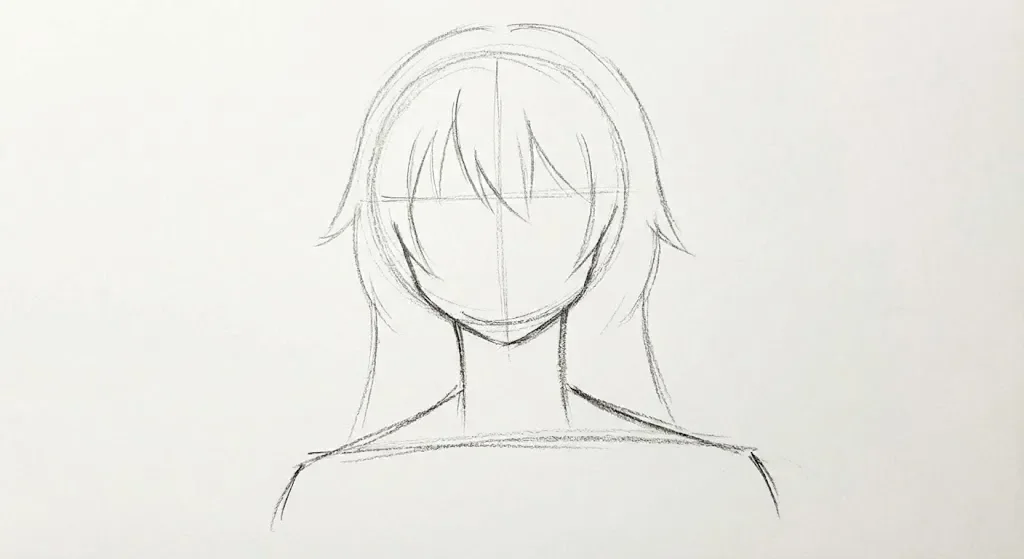
Draw a vertical line down the center of the head and a horizontal line across it. These will guide the placement of facial features. Then, lightly sketch the main shape of the hair around the head.
Step 3
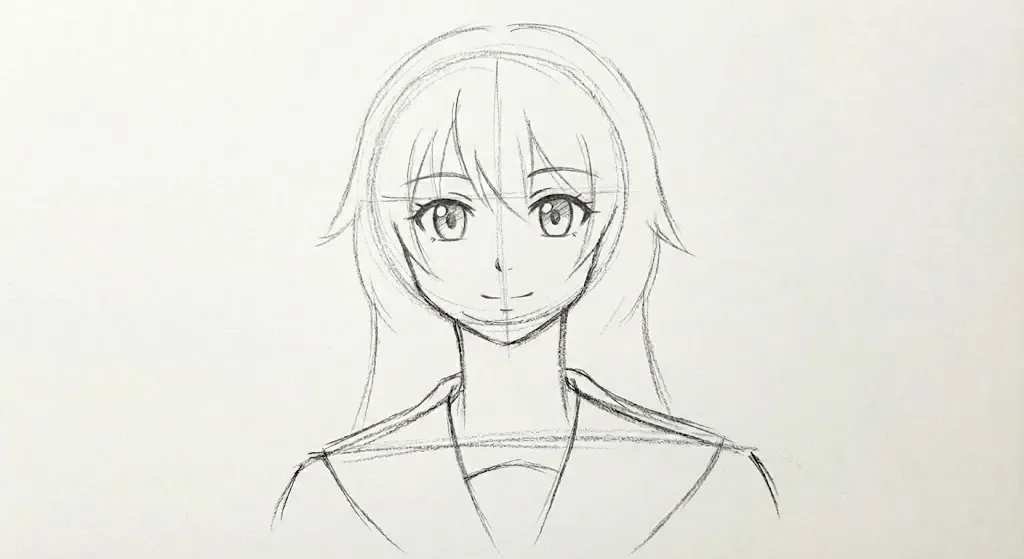
Using the guidelines, draw the character's large manga eyes, a small nose, and a mouth. Also, sketch the basic shape of her school uniform collar and shoulders.
Step 4
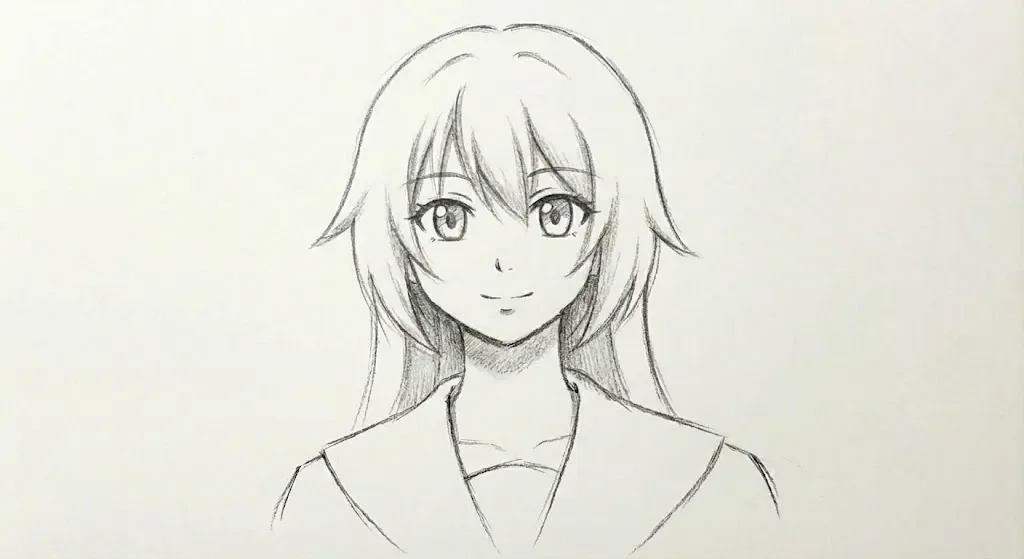
Add some light shading to the underside of the hair and beneath the chin. This helps to create a sense of depth and separates the hair from the face.
Step 5
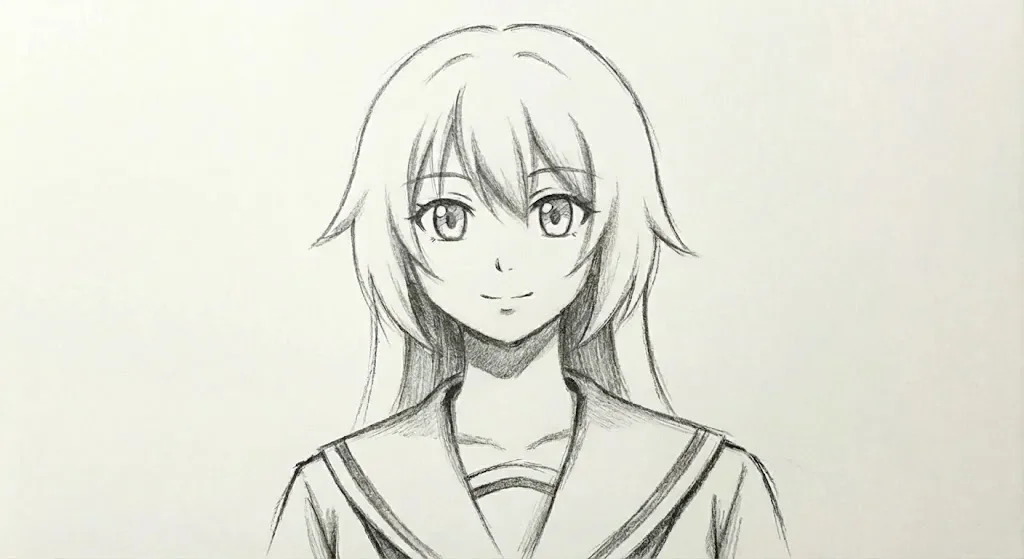
Apply more defined shadows to the folds of her school uniform collar and the sides of her face. This increases the realism and gives the character more volume.
Step 6
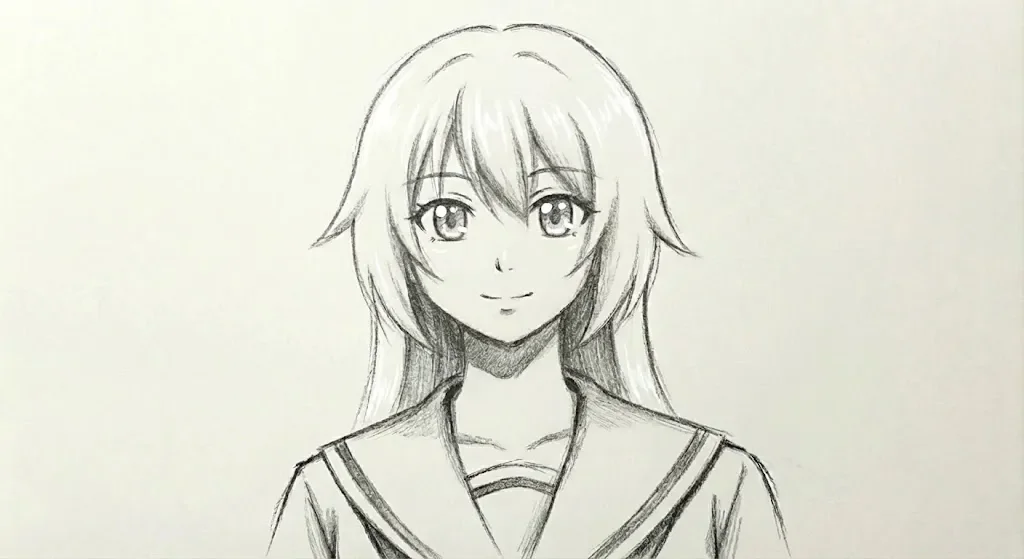
Now, add small white highlights to the eyes and the top of the hair. This simple step will bring your character to life and give her a glossy appearance.
Step 7
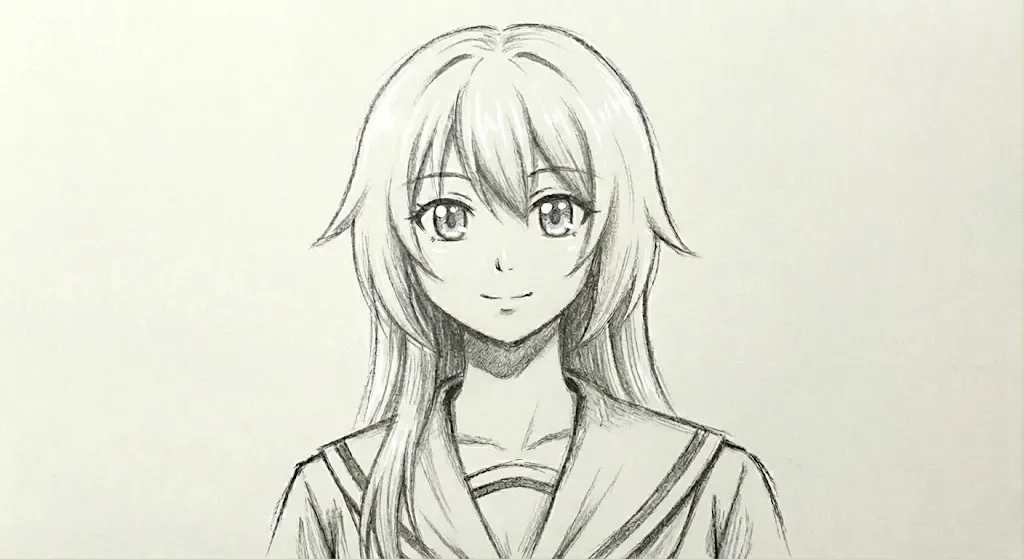
Finally, add more details to your drawing. Draw some folds and wrinkles on her clothing, and add texture to her hair with small, curved lines. Your manga character is now complete!
Tips for a better drawing
- Place the head circle, neck and shoulder line in step 1 before the face, so the pose is set early.
- Use the vertical and horizontal guidelines in step 2 to place both eyes at the same height, and check the gap between them.
- Draw the hair in step 2 as one large shape first. Dividing it into locks later is easier than drawing every strand separately.
- Shade under the hair and beneath the chin in step 4 to separate the hair from the face.
- Place the white eye highlights in step 6 in the same position in both eyes so the light seems to come from one direction.
Common mistakes and how to fix them
- The eyes are different sizes. Draw the second eye over the first with a ruler or a sheet of tracing paper, or measure with the pencil.
- The head is too round. Bring the chin to a soft point and keep the cheeks narrow.
- The collar disappears. Draw a thick line at the neckline and add one fold at each side.
Print all steps on one sheet
Every step image and its instruction on a single Letter page, ready to keep next to your paper.
Printable coloring page
The line version of this drawing, printed in black and white so you can color it in yourself.
Drawings to try
Frequently asked questions
How do I draw both eyes the same size?
Mark the eye line, mark the corners of both eyes with dots, and keep each eye between the same dots.
How do I draw anime hair?
Start with an outline shape, add the parting, then divide into thick locks.
How do I keep the face guidelines from showing in the final drawing?
Draw them very lightly in steps 1 and 2 so that they can be erased or covered by the shading in step 4 and later.