How to draw an ice cream cone step by step
How do you draw a ice cream cone?
Draw it in 8 steps, in about 25 minutes, with charcoal pencil or soft pencil, eraser, drawing paper. Level: Beginner.
- Steps
- 8
- Time
- 25 min
- You need
- charcoal pencil or soft pencil, eraser, drawing paper
- Level
- Beginner
This is a free drawing in the Guidart app.
An ice cream cone is a triangle topped with a ball of soft serve. You will draw the shapes with firm lines, add swirls, a waffle grid and a cherry.
Step-by-step instructions
Step 1
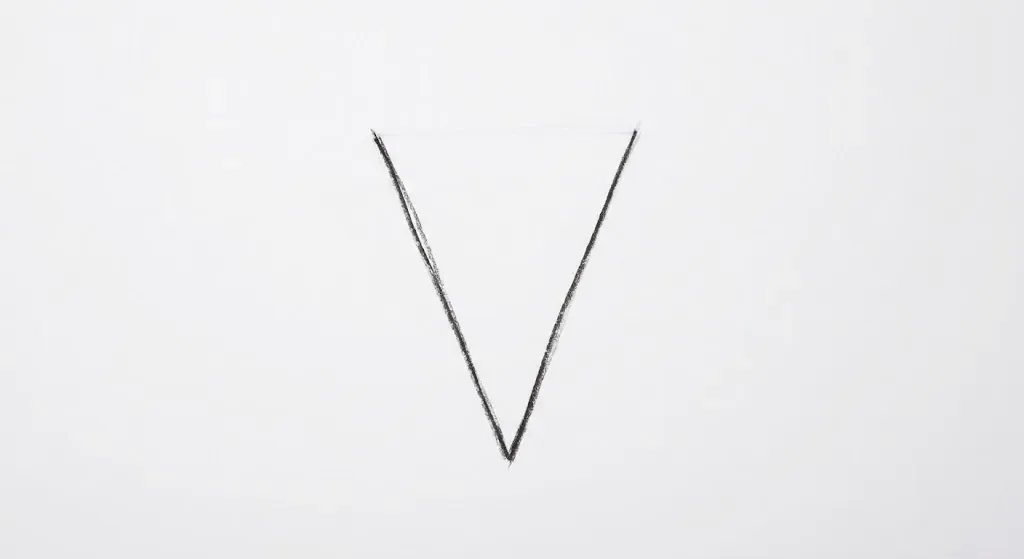
The first firm mark you will make is the cone itself. Following the faint guide from the intro, draw a long, inverted triangle (or a simple V-shape) using dark charcoal and solid pressure. This defined structure is the base on which everything else will rest. We do not use faint lines here—commit to the mark.
Step 2
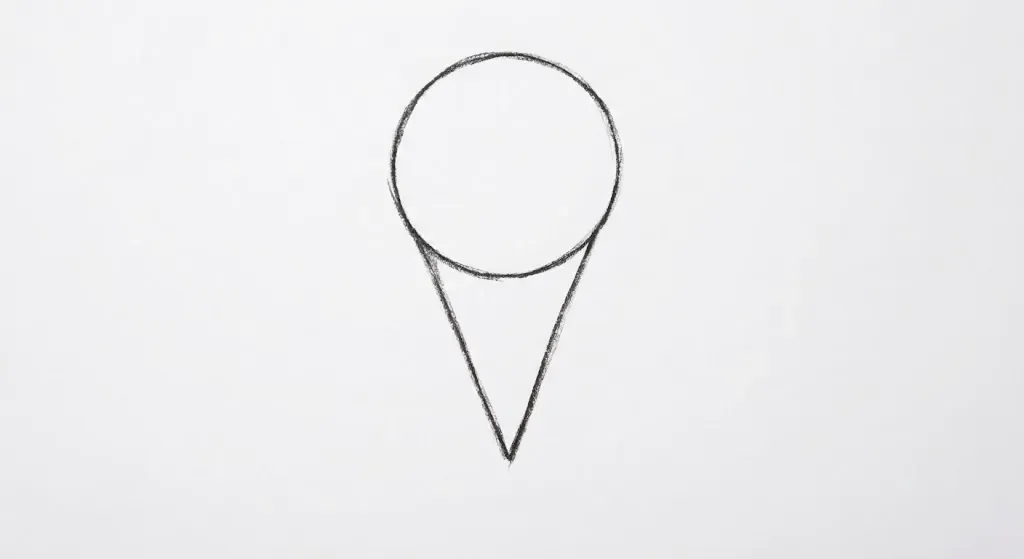
With the cone's base structure established, we must now define the main volume of the ice cream. Drawing directly on top of the 'V' shape from Step 1, create a single large, round circle using the same firm pressure and dark charcoal. Ensure this circle is balanced on the wide opening of the cone.
Step 3
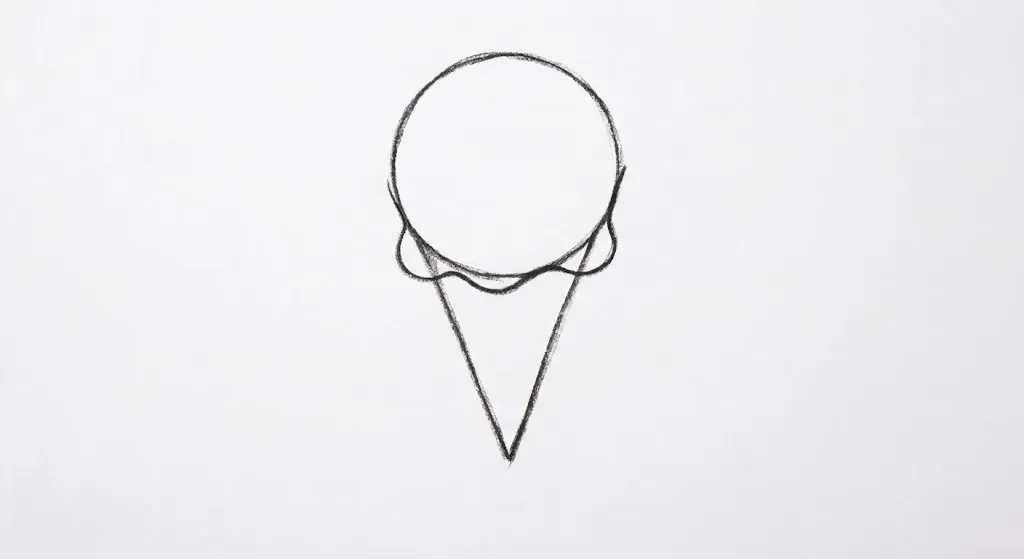
In this step, we make the shapes from Steps 1 and 2 work together. Draw a new, wavy, rounded line with firm charcoal pressure that connects the top opening of the cone (the V) to the lower curve of the circle scoop. This line unifies the two simple shapes and defines where the soft-serve ice cream begins to ripple against its container.
Step 4
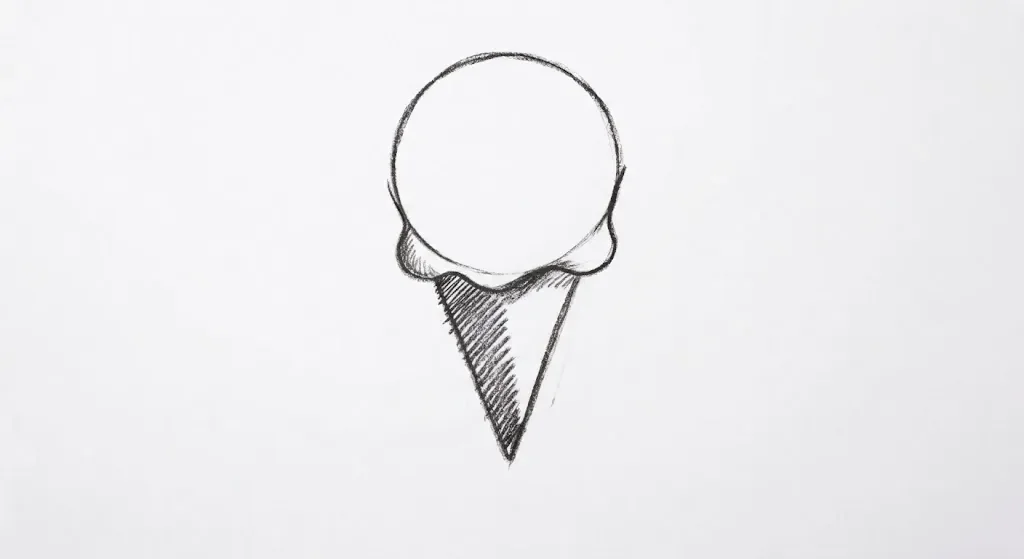
To make the drawing appear 3D, we must apply shadows. Using firm, parallel cross-hatching charcoal strokes, begin to shadow the entire left side of the waffle cone (the V-shape) and lightly underneath the transition line where the scoop sits. This establishes that the light source is coming from the upper right, and we begin to build depth. All lines from Phase 1 remain firmly in place.
Step 5
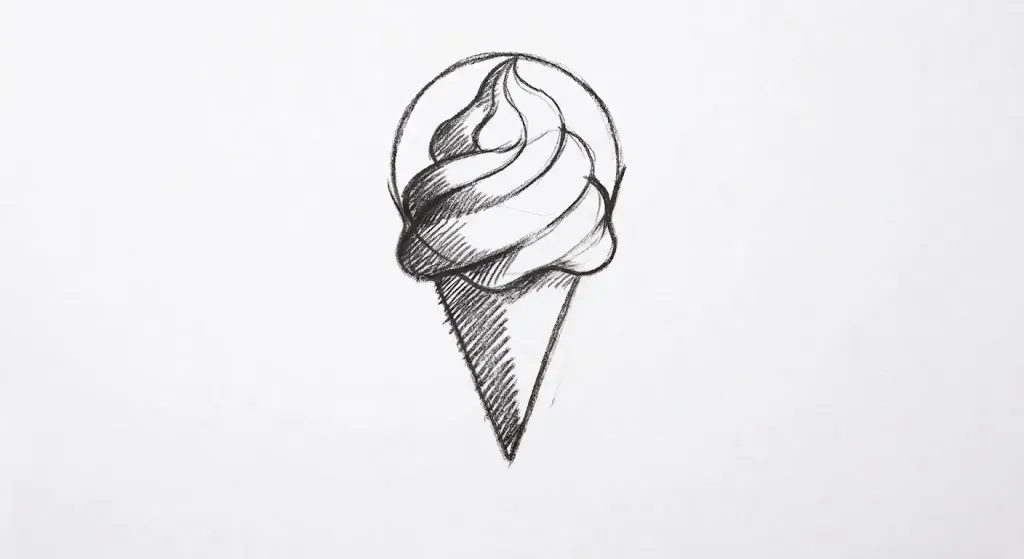
It's time to define the texture of the ice cream itself. Within the large circle defined in Step 2, draw new curved, overlapping charcoal lines with firm pressure to create the specific layered swirls of soft-serve ice cream. Crucially, apply dark cross-hatching within these new internal curves on the left side, matching the shadow intensity established on the cone in Step 4. The ice cream itself now begins to look round and dimensional.
Step 6
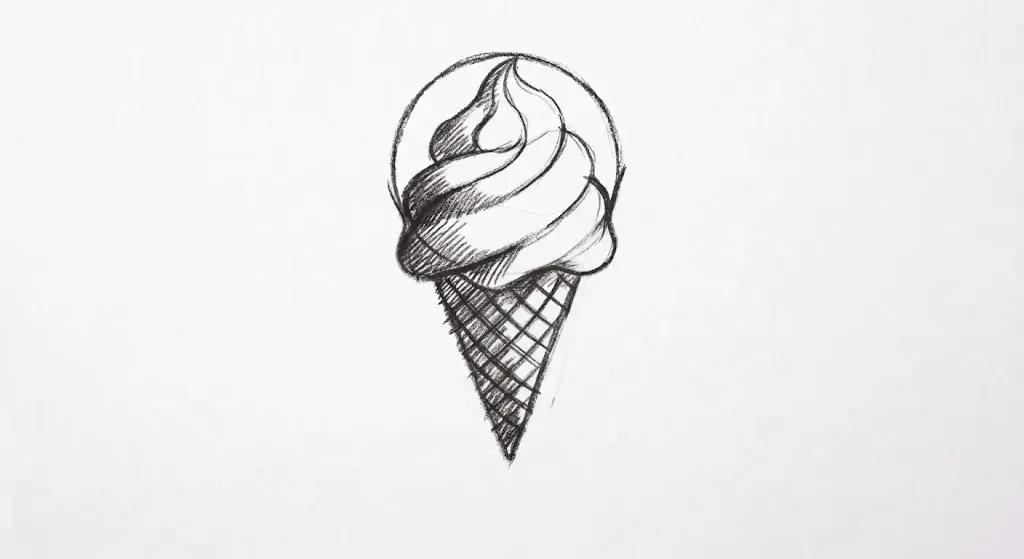
With the 3D form of the ice cream established, we now apply the characteristic texture to the cone. Overlay a diagonal grid pattern across the entire 'V' shape from Step 1. These grid lines are drawn with firm charcoal pressure. Notice how this new grid integrates with the existing shadow from Step 4; the shadow remains visible underneath the grid lines on the left, defining the cone's roundness.
Step 7
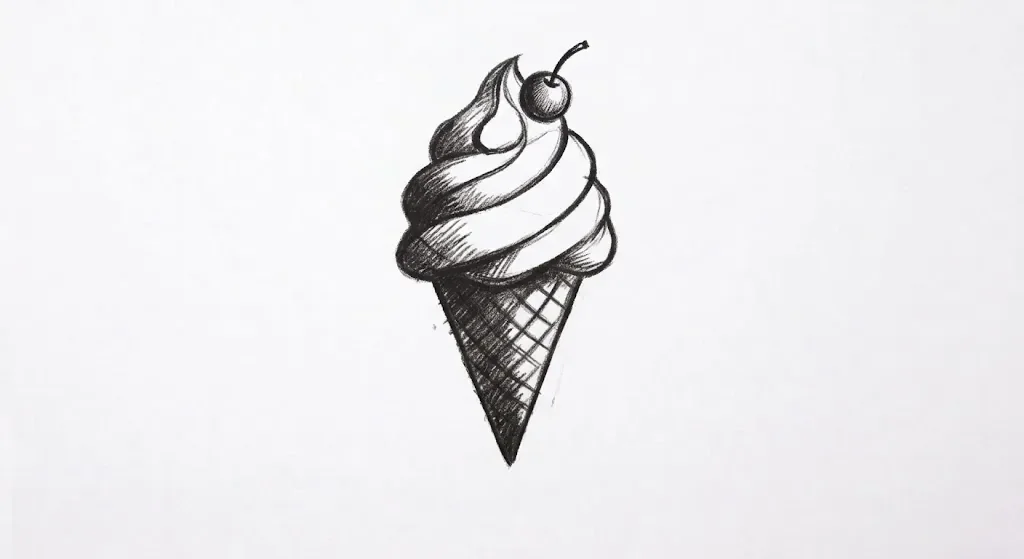
This step focuses on increasing contrast. Darken the existing shadows further, especially where the soft serve meets the cone and within the deeper crevices of the swirls defined in Step 5. This heavy pressure makes the object feel substantial. Next, add a final structural detail: draw a small, perfectly round cherry with a short stem resting firmly on top of the soft-serve swirls, using extremely dark charcoal lines.
Step 8
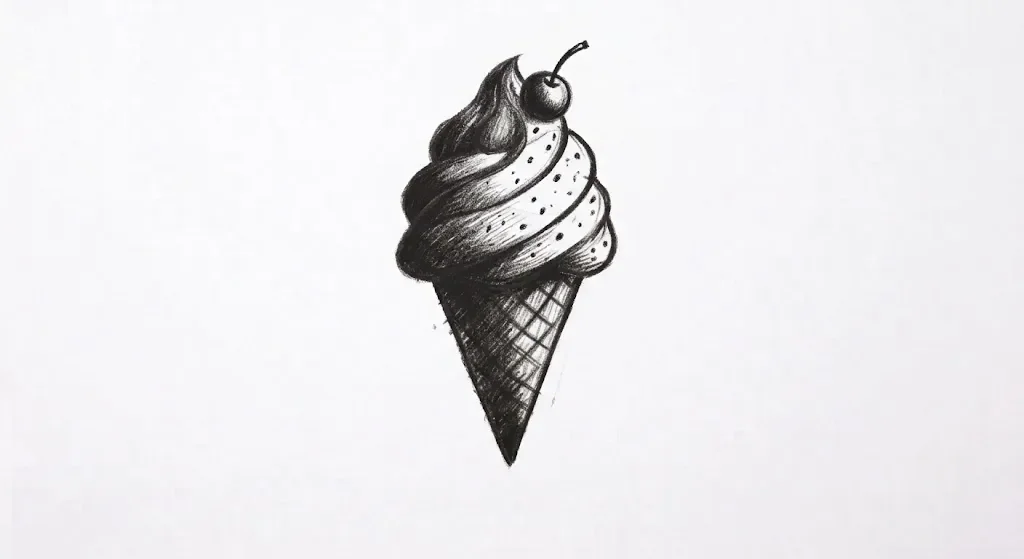
To finish the drawing and make it 'pop', we add specific textures and maximize our contrast. Use firm, small charcoal dots to sprinkle texture (like chocolate chips or vanilla bean specks) onto the right (lighter) side of the soft serve. Then, refine the deepest shadows on the left side, pushing the charcoal to create velvety black tones against the white paper. This extreme contrast locks in the three-dimensional form.
Tips for a better drawing
- Keep the cone long and narrow. Its height should be about twice the width of the opening.
- Draw the soft-serve swirls in step 5 wider at the bottom and narrower toward the top, then add the cone grid in step 6 over the shadow so the shadow still shows through.
- Make the diagonal waffle lines cross at right angles and follow the curve of the cone.
- Draw the soft serve swirls wider at the bottom and narrower at the top.
- Add the cherry in step 7 only after the swirls are shaded, so you can place it where the shadows are strongest.
Common mistakes and how to fix them
- The scoop is a perfect circle and looks like a ball. Make it slightly wider than the cone opening and let it hang over the cone.
- The waffle lines are straight. Curve them very slightly and fade them out toward the lit side.
- The shading is the same on cone and ice cream. Make the cone darker and rougher, and the ice cream smoother.
Drawing this with kids
Draw a triangle and a circle, then add a cherry and sprinkles.
Print all steps on one sheet
Every step image and its instruction on a single Letter page, ready to keep next to your paper.
Printable coloring page
The line version of this drawing, printed in black and white so you can color it in yourself.
Drawings to try
Frequently asked questions
How do I draw soft serve swirls?
Stack curved bands that narrow toward the top and finish with a small curl.
How do I draw a waffle cone texture?
Draw a diagonal grid that follows the curve and keep it lighter on the lit side.
How do I make ice cream look creamy?
Keep tones soft and leave bright highlights.